HOSTED MICROSOFT® EXCHANGE®
Windows: Outlook 2013

This article will assist you with setting up Outlook 2013 with your Hosted Exchange mailbox.
- Windows 7: Start Menu -> Control Panel. Double-click on “Mail”. Windows 8: Open the “Charms” by moving your mouse to the top right of your screen. Select Search. (Search for “Mail”)
- When the Mail Control Panel opens, select “Show Profiles“.
- Select “Add” to add a new profile. Enter any name you wish and select “OK“.
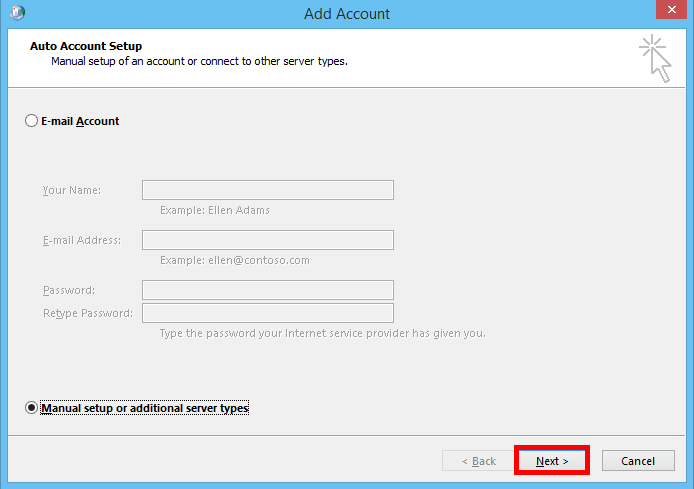
- Select “Manual setup or additional server types“. Click “Next“.
- On the “Choose Service” page, select “Microsoft Exchange Server or compatible service“. Click “Next“.

- On the “Server Settings” page, enter the following:
- “Server“: outlook
- “User Name“: user@domain.com
- “Use Cached Exchange Mode“: Checked

- Click the “More Settings…” button.
- Go to the “Connection” tab.
- Under “Outlook Anywhere“, check “Connect to Microsoft Exchange using HTTP“.
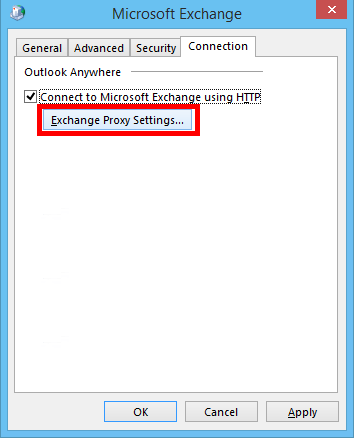
- Click the “Exchange Proxy Settings…” button.
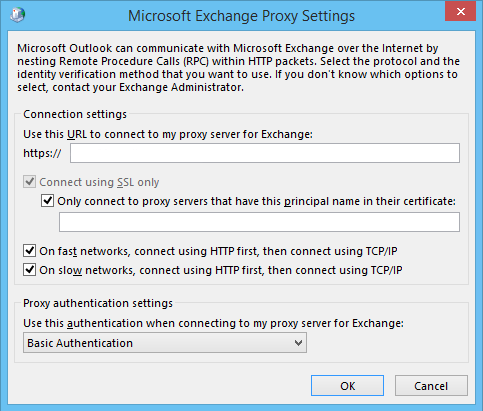
- Within the box titled “Use this URL to connect to my proxy server for Exchange“, enter the following URL: “mail.bctexchange.com” (Without quotes)
- Ensure both checkboxes are checked:
- “Connect using SSL only“
- “Only connect to proxy servers that have this principal name in their certificate“
- Within the box titled “Only connect to proxy servers that have this principal name in their certificate“, enter the following: “msstd:mail.bctexchange.com” (Without quotes)
- Ensure both checkboxes are checked:
- “On fast networks, connect using HTTP first, then connect using TCP/IP“
- “On slow networks, connect using HTTP first, then connect using TCP/IP“
- Within the box titled “Use this authentication when connecting to my proxy server for Exchange“, select “Basic Authentication“.
- Click “OK” in the “Microsoft Exchange Proxy Settings” window.
- Click “OK” in the “Microsoft Exchange” window.
- Within the window titled “Add Account“, click “Check Name“. If you’re prompted to enter your Username and Password, do so now.
- Once the “Server” and “User Name” fields are underlined, click “Next“.

- Click “Finish” to complete the configuration.
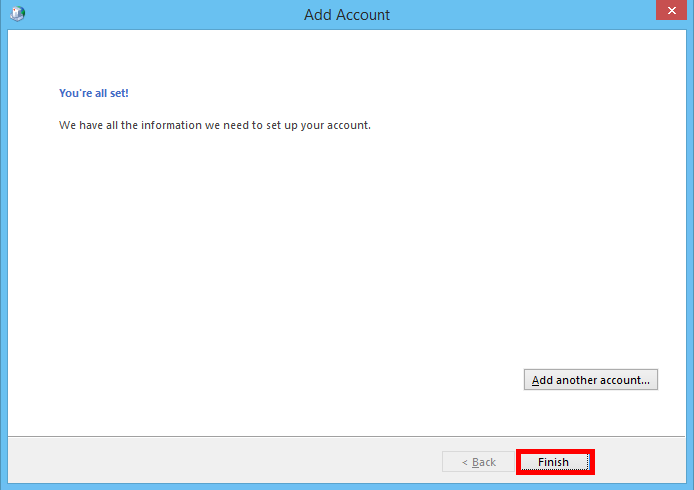
- Finally, launch Outlook. Your email should begin downloading shortly.
Personal computer
Need help setting up Outlook 2016? Visit our page below for a a comprehensive yet simple step-by-step process on how to set everything up.
Mobile device
Sometimes it’s the most beautiful things that give us the most trouble. Here is a quick guide to getting Outlook working on your iPhone or Android device.